
Choosing the best Arc Mma Welder for beginners is less about buying the most powerful machine and more about finding one that makes practice manageable. A steady current, simple controls, and reliable electrode starting can matter more than a crowded feature list. On a garage bench, that may mean choosing a compact inverter with a clear amperage dial and enough output for common repair and learning tasks. Keep it simple.
Welding educator Jody Collier is known for practical teaching, but the line below is an editorial paraphrase, not a direct quotation: “Build a steady arc before chasing extra features.” That is a useful lens for comparing beginner machines. Look at the welder’s usable amperage range, duty cycle, electrode compatibility, power requirements, and the clarity of its manual. A low price can be tempting. Yet poor instructions or awkward controls may make early practice more frustrating than it needs to be.
This guide will compare beginner-friendly Arc Mma Welder options by usability, performance, and value, while noting where each model has limits. Expect practical details: how smoothly an electrode starts, how easy the controls are to read, and whether the machine suits short practice sessions. No welder makes technique automatic. Even a capable unit can produce a rough bead when the angle or travel speed wanders. That part deserves honest attention. The right choice should support learning, not promise instant results.
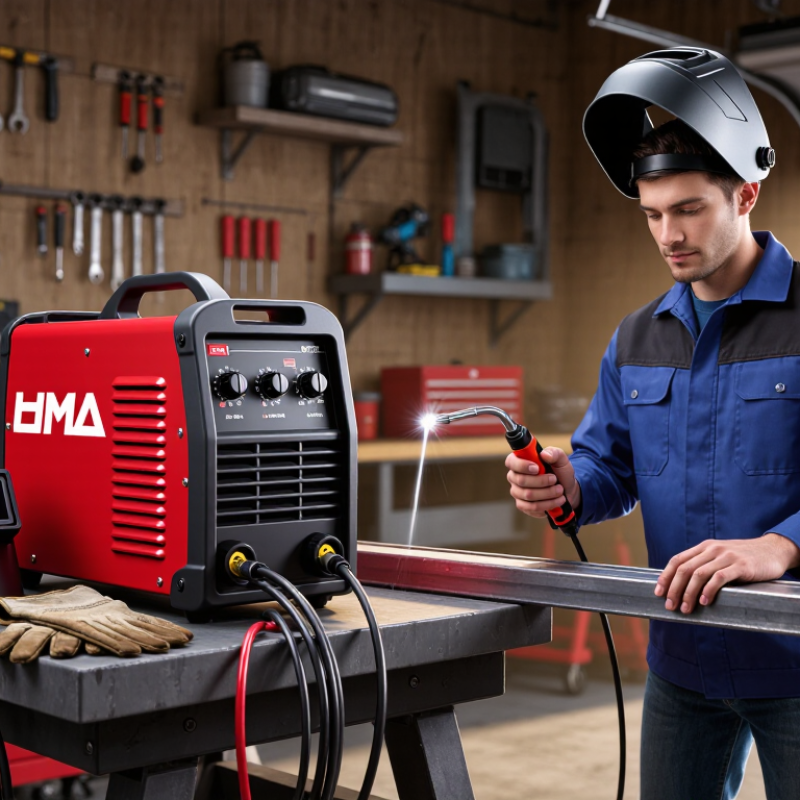
MMA, also called SMAW or stick welding, joins metal with an electric arc between a flux-coated electrode and the workpiece. The electrode melts as it feeds into the joint, while its coating creates shielding gas and a slag layer. This makes the process useful for manual work outdoors, repairs, and sites where bulky gas equipment is inconvenient. It also demands steady hand control: arc length, travel speed, and electrode angle all affect bead shape.
The American Welding Society’s AWS A5.1/A5.1M specification classifies carbon-steel stick electrodes. For example, an E6013 electrode has a minimum tensile strength classification of 60,000 psi, according to the standard’s designation system. That figure describes the electrode class, not a guaranteed strength for every finished weld. Beginners often find E6013 manageable on clean, thin-to-medium steel, but fit-up and surface preparation still matter. Slag can hide defects. Check the bead after chipping it away.
Tips: Practice short beads on scrap steel. Keep the electrode angle consistent, and listen for a steady crackle. Start with the machine settings recommended for the electrode diameter, then adjust carefully; the “right” setting can vary with joint position and metal thickness. Use a welding helmet, gloves, and protective clothing, and follow OSHA’s welding and cutting safety guidance in 29 CFR 1910.252.
For a beginner choosing an arc welder, electrode selection affects the feel of each pass. AWS A5.1/A5.1M classifies E6013 at a minimum tensile strength of 60 ksi (about 410 MPa), while E7018 is rated at 70 ksi (about 490 MPa). The first two digits indicate the minimum tensile strength in thousands of pounds per square inch. That number describes the electrode’s classification, not a guarantee that every finished weld will reach that strength. Joint design, preparation, and technique still matter.
E6013 is often a forgiving starting rod for general practice. Its arc can be easier to control on clean, thinner steel. E7018 offers higher minimum tensile strength and a low-hydrogen coating, but needs more attention to storage and handling. Keep it dry. A damp rod can undermine weld quality. Check the welding machine’s output range and polarity guidance before buying either electrode; a rod the machine cannot run smoothly makes practice frustrating. I might put too much weight on the 10 ksi gap here. For a first bead, fit, clean metal, and steady travel speed can matter more than that difference.
Under AWS A5.1 electrode classifications, E6013 has a minimum tensile strength of 60 ksi, while E7018 has a minimum of 70 ksi. These are classification minimums, not guaranteed results for every finished weld; suitability also depends on the application, joint preparation, and welding procedure.
For a beginner, the useful output range matters more than the largest number printed on the case. Check the machine’s rated minimum and maximum current, then match them to the electrodes and metal thickness you expect to use. A stable low setting helps with thin steel; adequate higher output supports larger electrodes. The range alone does not prove that the arc will feel smooth, though. That part is hard to judge from a label.
Read the duty-cycle rating alongside the output current, using IEC 60974-1 as your reference. Duty cycle describes how long the power source can weld within a ten-minute period at a stated output, under specified test conditions. For example, a 60% rating means six minutes of welding and four minutes of cooling at that rated condition. Not at every setting. Compare machines at the same current, because a higher amperage usually reduces the available duty cycle.
A small home project may not need a high duty cycle, but repeated welds can make cooling breaks frustrating. Look for the rating at currents you will actually use, not only the maximum output. Check the nameplate and manual; sellers may present ratings in different ways. I once focused too much on peak amperage. It was not the number that made practice easier.
A beginner-friendly arc MMA welder should let you adjust amperage in small steps and provide enough output for the electrodes you plan to use. Match the setting to the electrode diameter first, then consider the steel thickness, joint, and welding position. Electrode packaging usually gives a starting range; treat it as guidance, not a guarantee. Machine readings and real arc behavior can differ a little.
For mild steel, a 2.5 mm electrode may run around 60–90 amps, while a 3.2 mm electrode may need roughly 90–130 amps. These are broad examples, not fixed rules. Thin sheet often needs a smaller rod and lower current to reduce burn-through. Too hot? The puddle may grow wide, and the back of the sheet can vanish quickly. Too cold, and the rod may stick or leave a tall, uneven bead.
Thicker steel may call for a larger electrode, more current, or several passes, depending on the joint and electrode type. Check the machine’s output range and duty cycle before buying; a high maximum setting is not useful if it cannot sustain your typical work. Try a few short beads on scrap of similar thickness. Watch the arc, bead shape, and penetration, then adjust in small increments. It takes a little patience. I’d avoid trusting one amperage chart too much.
For a beginner, the best arc MMA welder is one that matches the available power supply, not the largest amperage rating. Check the label. A 120-volt unit may suit light repairs, while thicker steel often needs 240 volts and a suitable circuit. Confirm input current, breaker capacity, plug type, and duty cycle before buying. Avoid undersized extension cords; voltage drop can cause poor starts and hot cables. An amperage chart can look reassuring, but it cannot tell you whether your outlet is suitable.
Look for intact cable insulation, thermal overload protection, and a secure ground clamp. A voltage-reducing device may add protection in some settings, but it does not replace safe work practices. Use a correctly shaded helmet, dry welding gloves, and flame-resistant clothing. Welding screens help protect people nearby from arc flash. Keep sparks away from combustibles, and inspect the workspace before striking an arc. No shortcuts here.
In U.S. workplaces, OSHA’s 29 CFR 1910.252 addresses hazards including fire prevention and ventilation; 1910.254 covers arc-welding equipment. Follow workplace procedures, equipment instructions, and applicable local requirements. Beginners sometimes focus on machine features and overlook ventilation or nearby workers. That is an easy mistake to make, even with a capable welder.